


Every year, millions of people buy better cameras expecting better videos. The footage still looks off: not terrible, just somehow less than professional. Flat, a little hollow, weirdly unconvincing.
The equipment rarely explains it. Most amateur video problems trace back to three categories of error — audio handling, lighting logic, and editing discipline. Here’s what those mistakes actually look like and what fixing them involves.
Mistake #1: Treating Audio as an Afterthought
Sound is where amateur videos reveal themselves fastest, and also where the gap with professional work is most technically measurable.
Poor audio makes videos less watchable, at the same time viewers can forgive poor video over quality audio. Viewers will adjust to a grainy image. They will not adjust to a voice that sounds like it’s coming through a wall. And what’s worse, bad sound can rarely be fixed even with powerful tools like Movavi.
The core issue isn’t usually the microphone. It’s the recording environment. Parallel hard surfaces (bare walls, hardwood floors, glass) cause standing waves and flutter echoes that compress the perceived quality of any voice. Studio engineers call this “room sound”, and it bleeds into every syllable. A $40 lavalier clipped two inches from the speaker’s mouth, in a soft-furnished room, consistently outperforms a $400 condenser placed across a desk in an empty apartment.
There’s also a basic acoustic principle that almost no beginner tutorial mentions: every time the distance between microphone and source doubles, sound pressure level drops by 6 decibels. That’s not subtle. At one meter away, the voice-to-room-noise ratio collapses. Get the mic close, treat the room with soft material, and the numbers start working in the creator’s favor.
Learning to improve video audio quality is less about acquiring equipment and more about spatial awareness — where sound is coming from, where it’s bouncing, and where the microphone sits relative to both.
Mistake #2: Misreading Light
Light is the medium. Without understanding how cameras interpret light, footage will look wrong even when the room looks fine to the naked eye.
The most common physical mistake is backlit subjects. A window behind the speaker seems logical: it’s bright, it looks good in the room. But the camera’s exposure system averages the entire frame. With a bright background, the foreground face goes dark. The subject becomes a silhouette against what looks like a glowing rectangle. Repositioning so the window falls at a 45-degree angle to the subject — the classical Rembrandt lighting setup — costs nothing and changes everything.
White Balance: The Problem That Looks Like Bad Skin
Once light placement is sorted, the next invisible trap is white balance. Cameras need a reference point to understand what “neutral” looks like under a given light source.
Auto white balance is the default on most consumer cameras, and it causes a minor but persistent issue: when the camera pans or the scene changes, the color temperature shifts. A face that seems normal while facing the window becomes somewhat orange when turned toward the lamp. Even viewers who are unable to explain why see the mismatch.
Locking white balance manually to the dominant light source takes thirty seconds and eliminates the drift entirely.
Shot composition completes this visual equation. The rule of thirds is foundational — eyes in the upper third of the frame, subject off-center — but the deeper principle is intentionality. Every edge of the frame is a decision. Empty space isn’t wasted space; it’s directional tension. Where a beginner sees unused pixels, a trained eye sees the video’s visual center of gravity.
Mistake #3: Editing Without a Framework and With the Wrong Tools
The editing phase is where most of the “why does this look amateur” question actually gets answered.
Consider the math: a 10-minute YouTube video shot in a single take might include 18-25 minutes of material. After removing hesitations, restarts, off-topic tangents, and pacing concerns, a typical talking-head interview produces around 40% usable content. Beginners usually save 90% or more of what they shoot, so viewers have to go through everything that was previously incorrect in the room.
What Actually Gets Cut and Why
Documentary editors use a notion frequently termed “the half-second rule”: any pause longer than 500 milliseconds that doesn’t aid rhythm or emphasis gets eliminated. That’s aggressive by common standards, but it explains why properly edited interviews sound dynamic whereas amateur ones feel sluggish even at the same run time.
Jump cuts (edits between two similar angles of the same subject) are the structural consequence of cutting aggressively without coverage. The fix is the cutaway: a shot of a screen, a product, an environment, anything that visually bridges the edit. It’s not a stylistic preference; it’s structural grammar. Without it, the timeline reads like a broken sentence.
Understanding how to edit a video at a competent level means internalizing this rhythm — not just removing the obvious editing mistakes, but shaping the pacing of the whole piece.
The Software Trap: Complexity Theater
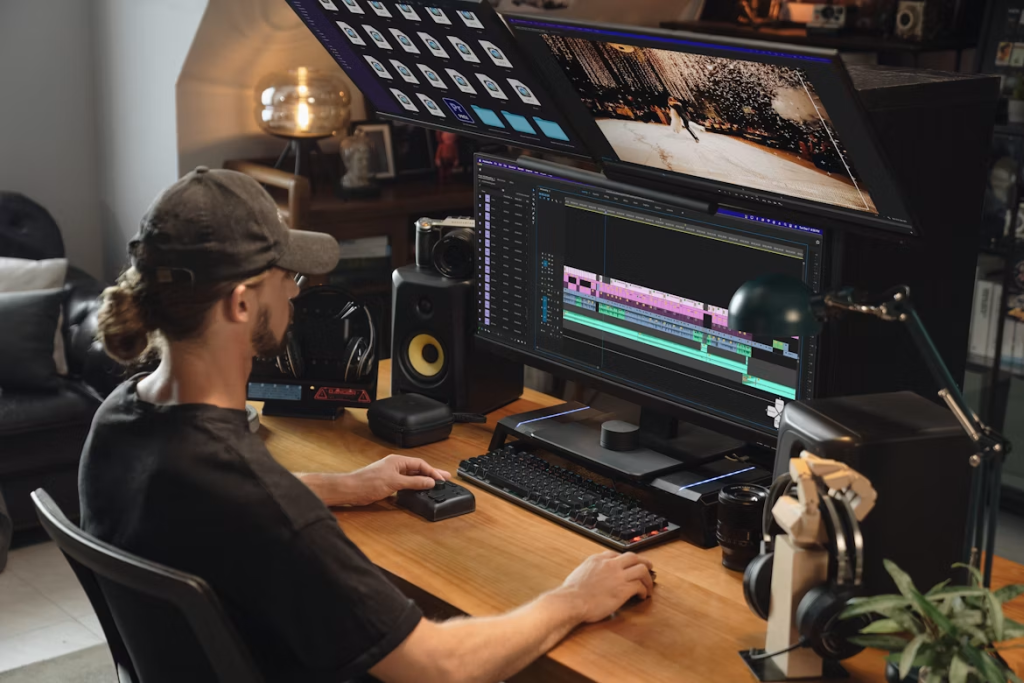
Here’s where a lot of beginners lose weeks unnecessarily. DaVinci Resolve and Adobe Premiere Pro are genuinely powerful tools. They’re also built for professional workflows with dedicated colorists, multiple editors, and team-based pipelines. For a solo creator making content at realistic production pace, the interface overhead is real.
Video editing software calibrated to beginner and intermediate needs handles the core workflow — timeline editing, color correction, audio normalization, transitions — without the cognitive overhead of features that won’t be touched for years. Movavi occupies this space specifically: it’s easy video editing software that covers the full production chain without requiring a manual.
The collage and multi-layout features in Movavi Video Editor are worth noting separately, particularly for social content where split-screen formats and comparison layouts have become a standard visual language. That’s a genuinely different use case from linear editing, and most professional-grade tools handle it awkwardly.
The Gear Conversation
There’s a reason this piece hasn’t led with cameras. The conversation about which video camera fits your budget is the most common entry point into video production — and also the most reliably misleading one. Sensor size matters at a certain level. At the beginner stage, it’s almost never the binding constraint.
The production chain runs: audio environment → light placement → exposure/white balance → composition → editing discipline. Upgrade the camera without addressing those five variables and the footage looks like expensive amateur work instead of cheap amateur work. The category doesn’t change.
Learning to shoot professional videos is really a matter of developing these habits into muscle memory, not hardware. The specialists who make it appear easy aren’t working more per frame; they have automated the judgments that novices make deliberately and methodically and sometimes mistakenly.
A side note worth making: even AI video generators, which are changing the production calculus significantly, require someone who can evaluate output quality, catch bad light renders, recognize when audio synthesis has artifacts, and frame a shot correctly for compositing. The tools evolve. The underlying visual literacy doesn’t expire.
The three mistakes — bad audio environments, broken lighting logic, undisciplined editing — are fixable with knowledge, not money. That’s either encouraging or slightly annoying, depending on how recently you bought a new lens.