


Learning how to tile a bathroom floor can completely transform the appearance and durability of a bathroom. Tile flooring is popular because it resists moisture, lasts for years, and comes in a wide variety of styles and finishes. However, a successful tile installation depends on much more than simply placing tile on the floor.
The quality of the preparation work often determines whether the finished floor lasts for decades or begins cracking and shifting within a few years. Proper subfloor preparation, waterproofing, layout planning, and grout installation all play a major role in the final result.
Whether you are considering a DIY bathroom upgrade or researching the installation process before hiring a contractor, understanding each step can help you avoid costly mistakes and create a clean, professional-looking bathroom floor.
Tools and Materials You’ll Need Before Starting
Before beginning the project, it is important to gather the correct tools and materials. Having everything ready before installation starts helps the process move more smoothly and reduces interruptions during tile placement.
Essential Tile Installation Tools
Most bathroom floor tile projects require:
- Tile cutter or wet saw
- Notched trowel
- Chalk line
- Tile spacers
- Level
- Measuring tape
- Rubber grout float
- Buckets for mixing mortar and grout
- Sponge and clean water for cleanup
A wet saw is especially important for making clean cuts around bathroom fixtures, corners, and walls. While smaller tile cutters may work for basic ceramic tile, harder materials like porcelain often require more precise cutting tools.
Materials for a Long-Lasting Bathroom Floor
In addition to tools, you will need the right installation materials, including:
- Floor tile
- Thin-set mortar
- Grout
- Cement backer board or underlayment
- Waterproof membrane
- Sealant if required for the grout or tile type
Choosing high-quality materials can significantly improve the durability and moisture resistance of the finished bathroom floor.
Preparing the Bathroom Floor for Tile Installation
Preparation is one of the most important parts of learning how to tile a bathroom floor correctly. Many tile failures happen because the floor underneath was not properly prepared before installation.
Remove Existing Flooring and Inspect the Subfloor
Start by removing old flooring materials completely. Once the floor is exposed, inspect the subfloor carefully for soft spots, water damage, mold, rot, or uneven areas.
Tile requires a stable and structurally sound surface. Any movement underneath the tile can eventually lead to cracked grout lines or broken tile.
Bathrooms are especially vulnerable to hidden moisture damage around toilets, tubs, and sinks, so this step should never be rushed.
Install Proper Underlayment
After the subfloor has been inspected and repaired if necessary, the next step is installing a proper tile underlayment.
Cement backer board is commonly used because it creates a durable, moisture-resistant surface for tile installation. Some installers also use uncoupling membranes, which help reduce movement and cracking over time.
For larger remodels or bathrooms with subfloor damage, homeowners often work with experienced remodeling contractors like Capital Construction to ensure the floor structure and waterproofing are handled correctly before tile installation begins.
Waterproof the Bathroom Floor
Bathrooms experience constant moisture exposure, making waterproofing essential. While tile itself resists water, grout lines and gaps can still allow moisture to penetrate underneath the floor over time.
Applying a waterproof membrane helps protect the subfloor from water damage and reduces the risk of mold or long-term structural issues.
Proper waterproofing is especially important around tubs, showers, and toilet areas where moisture exposure is highest.
Planning Your Tile Layout Before Installation
A good layout helps the finished bathroom floor look balanced and professional. Taking time to plan before setting tile can prevent awkward cuts and alignment issues later.
Measure the Space Carefully
Measure the bathroom floor dimensions and calculate the square footage. It is usually recommended to purchase extra tile to account for cuts, breakage, and future repairs.
Most installers recommend ordering approximately 10% more tile than the measured square footage.
Dry Fit the Tile First
Before applying mortar, place several rows of tile on the floor without adhesive. This dry layout helps you visualize spacing and identify where cuts will be necessary.
The goal is to avoid extremely narrow tile pieces along walls or visible edges whenever possible.
Use Chalk Lines to Stay Straight
Bathrooms are small spaces, but even slight alignment problems become noticeable once grout lines are complete.
Using chalk lines creates reference points that help maintain straight tile rows throughout the installation process.
How to Tile a Bathroom Floor Step by Step
Once preparation and layout planning are complete, the installation process can begin.
Step 1 – Mix and Apply Thin-Set Mortar
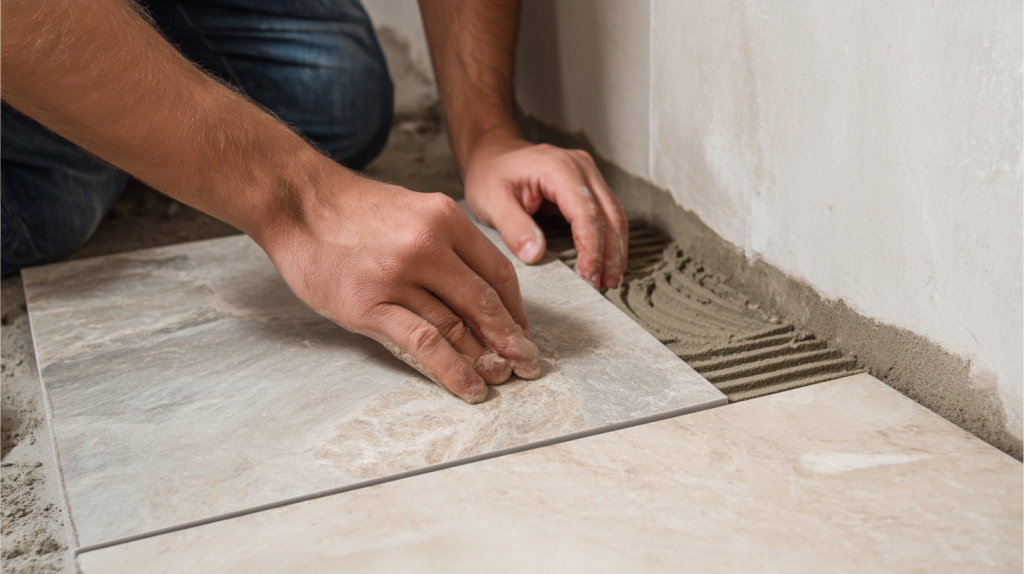
Mix the thin-set mortar according to the manufacturer’s instructions. Apply mortar to a small section of the floor using a notched trowel.
Working in smaller sections prevents the mortar from drying before the tile is installed.
Hold the trowel at a consistent angle to create even ridges, which help improve tile adhesion.
Step 2 – Lay the Tiles Evenly
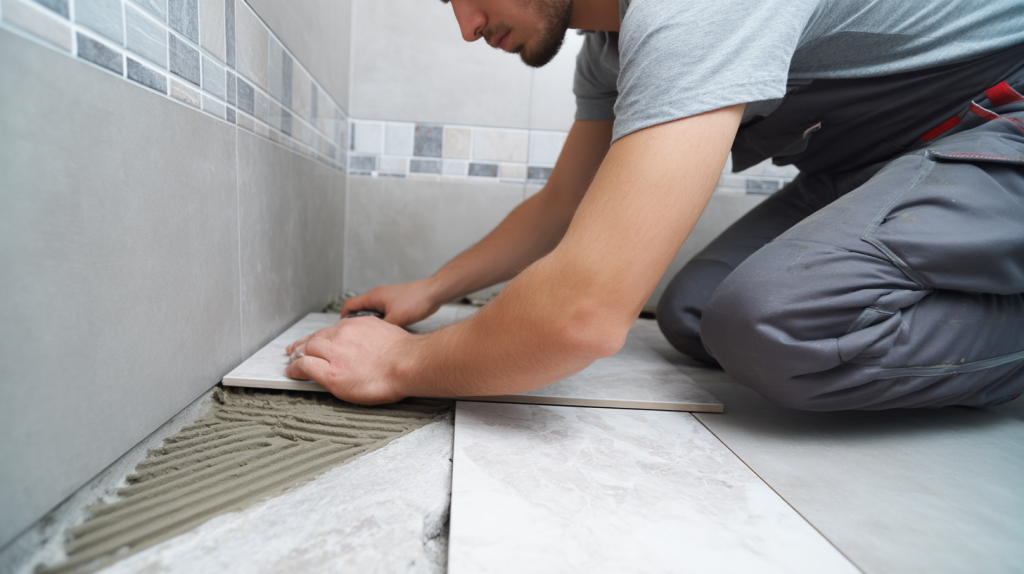
Press each tile firmly into the mortar while slightly twisting it into place. Use tile spacers to maintain even grout lines throughout the floor.
Check alignment frequently with a level to ensure the tiles remain flat and consistent.
Taking your time during this step helps prevent uneven edges and visible height differences between tiles.
Step 3 – Cut Tiles Around Fixtures and Edges
Most bathrooms require tile cuts around toilets, vanities, doorways, and walls.
A wet saw produces cleaner, more accurate cuts, especially for porcelain or stone tile. Leave a small expansion gap around the perimeter of the room to allow for natural movement.
Baseboards or trim pieces will usually cover these edges after installation.
Step 4 – Check for Level Tiles Throughout the Process
As installation continues, periodically check for lippage, which occurs when adjacent tiles sit at different heights.
Uneven tile not only looks unprofessional but can also create tripping hazards and weaken the installation over time.
Adjust tiles immediately while the mortar is still workable.
Grouting and Finishing the Bathroom Floor
Once the tile has been installed, the floor still needs proper grouting and finishing before it is fully complete.
Allow the Mortar to Cure First
Thin-set mortar needs time to cure before grout is applied. Rushing this process can shift the tiles or weaken the bond underneath.
Always follow the manufacturer’s recommended cure times before moving on to the next step.
Apply Grout Properly
Use a rubber grout float to push grout deeply into the joints between tiles. Work diagonally across the grout lines to ensure even coverage.
Remove excess grout as you work to make cleanup easier later.
Clean Excess Grout Before It Hardens
After the grout begins to set slightly, wipe the tile surface gently with a damp sponge to remove haze and residue.
Cleaning too early can pull grout from the joints, while waiting too long can make cleanup difficult.
Seal the Grout if Needed
Some grout types benefit from sealing to improve moisture resistance and reduce staining.
Homeowners who want professional-looking grout lines, clean tile cuts, and durable bathroom flooring often rely on experienced tile specialists such as Kibuk Tile And Construction for complex bathroom tile projects.
Common Bathroom Floor Tiling Mistakes to Avoid
Many bathroom tile problems can be traced back to a few avoidable mistakes.
Skipping Floor Preparation
An uneven or damaged subfloor creates instability underneath the tile. Even expensive tile materials can fail if the foundation underneath is weak.
Using the Wrong Mortar or Grout
Different tile materials require different installation products. Using the wrong mortar or grout can lead to adhesion problems or cracking.
Not Waterproofing Wet Areas Properly
Bathrooms are high-moisture environments. Failing to waterproof correctly can result in mold growth, subfloor damage, and expensive repairs later.
Rushing the Installation
Tile installation requires patience. Allowing proper cure times and checking alignment throughout the process helps create a more durable final result.

Should You DIY or Hire a Professional?
Some homeowners successfully tile their own bathroom floors, especially in small bathrooms with straightforward layouts.
When DIY Makes Sense
DIY installation may work well if:
- The subfloor is in good condition
- The layout is simple
- The tile is standard size
- You have prior remodeling experience
- You have enough time to complete the project carefully
When Hiring a Professional Is the Better Option
Professional installation is often recommended for:
- Uneven subfloors
- Water-damaged bathrooms
- Large-format tile
- Complex tile patterns
- Tight timelines
- Bathrooms requiring extensive waterproofing
Professional installers can also help reduce material waste and avoid costly installation errors.
Final Thoughts on How to Tile a Bathroom Floor
Learning how to tile a bathroom floor involves much more than laying tile. Preparation, waterproofing, layout planning, and attention to detail all contribute to a durable and visually appealing result.
A properly installed bathroom tile floor can last for decades while improving both the function and appearance of the space. Whether you decide to tackle the project yourself or work with experienced professionals, understanding the process helps ensure better long-term results.
Taking the time to prepare correctly from the beginning is often what separates a bathroom floor that lasts from one that develops problems later.